Silicone vs Metal Bakeware: Which One Bakes Better?

In the silicone vs metal bakeware question, metal wins almost every time you want browning, crisp edges, or a cake with straight sides. Silicone wins when release is the whole problem: intricate molds, mini shapes, anything sticky, and freezer work.
The reason is one property. Metal conducts heat fast and pushes it straight into the batter. Silicone insulates. It slows heat down instead of passing it along, so the bottom and sides of your bake stay pale and set later than the top.
That single difference explains everything else on this page, including why your silicone muffins came out blond and slightly damp underneath while the same batter in a metal pan browned properly.
Updated September 2026
Baking the same batter in a different pan? Our free baking time calculator gives you a target time range and a doneness temperature for your exact pan size, so a pale silicone bottom doesn't trick you into pulling the pan too early.
Silicone vs metal bakeware at a glance
| Metal | Silicone | |
|---|---|---|
| Heat behavior | Conducts fast, transfers heat into batter | Insulates, slows heat into batter |
| Bottom browning | Strong and even | Pale, sometimes barely colored |
| Edge crispness | Crisp on cookies, brownies, pastry | Soft |
| Typical extra time needed | None, recipes are written for it | Often 5 to 10 minutes on a cake |
| Release | Needs greasing or lining | Peels off almost anything |
| Rigidity | Holds shape, straight sides | Flexes, bulges when full |
| Support under the oven rack | Not needed | Needs a sheet pan under it |
| Detail in molds | Limited | Excellent, holds fine detail |
| Freezer to oven | Depends on the pan | Fine |
| Life span | Decades if you skip the dishwasher | Years, but stains and can go sticky |
| Best for | Cakes, cookies, breads, pastry, brownies | Mini bundts, molded shapes, candy, frozen items |
Why metal browns and silicone doesn't
Heat gets into a bake three ways in a home oven: the hot air around it, the radiant heat coming off the oven walls and element, and conduction through the pan itself. In a metal pan, conduction does a lot of the work. Aluminum moves heat quickly, so the pan wall and the batter touching it reach browning temperature early.
Silicone is a poor conductor. Heat has to soak through the rubbery wall before it starts working on the batter. So the batter next to the pan spends a long stretch at a temperature that cooks it but never browns it.
Browning starts once the surface passes about 300°F and dries out enough. In silicone, the wet batter at the pan wall rarely gets there before the middle of the cake is done. You end up with a cake that is baked through and still pale at the sides.
Whatever you lose in color you also lose in flavor, since browning reactions build most of the toasty, caramel notes in a crust. That is why cookies on silicone taste flatter than the same dough on metal, even at the same doneness.
The pale bottom trap
Here is where people ruin bakes. A pale bottom looks underdone, so they leave the pan in longer. The center dries out, the top goes leathery, and the bottom stays pale anyway. It was never going to color.
Judge silicone bakes by the top, by a clean tester, or best of all by internal temperature. Butter cakes are done around 205 to 210°F in the center, quick breads near 205°F, and enriched yeast breads around 190°F. Those numbers do not change with the pan material, only the time it takes to reach them.
When metal is the clear winner
Reach for metal without thinking twice for:
- Cookies. You want spread control, crisp edges and browned undersides. A metal sheet gives all three. If you want less browning underneath, line the sheet or use a lighter pan, and read our guide on why cookies burn on the bottom.
- Layer cakes. Straight, square sides come from a rigid wall. Silicone rounds bow outward under batter weight and give you a barrel shape that is miserable to stack and frost.
- Brownies and bars. Crisp corners are the point. Silicone gives you soft, rounded edges all the way around.
- Pastry and pie. Butter has to hit hot metal to steam and lift the layers. A silicone pie plate delivers a soggy bottom almost every time.
- Yeast bread. Loaves need heat driving in from the sides for oven spring and a real crust.
- Anything you sear the outside of first, like a hot pan for focaccia.
Within metal, the material still matters. Light aluminum and aluminized steel are the workhorses. Dark nonstick pans absorb more radiant heat and can brown 20 to 25 percent faster at the crust, which is why many recipes tell you to drop the oven 25°F when you use them. Our oven temperature converter handles that adjustment along with Celsius and gas mark.
When silicone is the clear winner
Silicone earns its shelf space in a smaller set of jobs, and it is genuinely better at all of them.
- Molded shapes. Fluted mini bundts, madeleines, cake pops, anything with detail. Release from a decorated metal mold is a coin flip. From silicone it is a peel.
- Mini muffins and bite-size items. These bake fast and are too small to care much about crust color.
- Sticky things. Caramel layers, sticky buns, marshmallow, anything with a molten sugar edge.
- Freezer work. Freeze ganache domes, ice cream inserts or butter portions and pop them out solid.
- Cheesecakes and custards in a water bath. No seam to leak, and gentle heat is the point anyway.
- Storage-friendly kitchens. A silicone pan rolls up. A stack of metal pans does not.
For cheesecake specifically, compare your options in our springform pan substitute guide before you commit to a silicone round.
How to bake in silicone so it actually works
Silicone is not a bad material. It is a material that most recipes were not written for. These adjustments close most of the gap.
Always set it on a metal sheet pan. A filled silicone pan has no structure. Lifting one bare is how batter ends up on the oven floor. A sheet underneath also adds conduction from below, which improves the bottom.
Grease it the first few times. Manufacturers say you do not need to. In practice a light film of butter or spray on a new pan, especially a detailed one, saves you a torn cake while the surface breaks in.
Expect to add time. A cake that takes 30 minutes in an 8 inch metal round often needs 35 to 40 in silicone. Start checking at the original time, then keep going in 5 minute steps.
Do not raise the temperature to compensate. A hotter oven sets the top before the insulated sides catch up, and you get a domed, cracked cake with pale walls. Give it time, not heat.
Rest before unmolding. Silicone holds heat and the cake is fragile straight out of the oven. Give a cake 10 to 15 minutes, then peel the pan back from the side rather than flipping it. Full method in how to cool a cake.
Fill to two thirds, not to the brim. Flexible walls bulge, so an overfilled silicone pan changes shape as it bakes.
Check the heat rating on the box. Most kitchen silicone is rated somewhere in the 420 to 500°F band, which covers normal baking. Broiler heat is not normal baking, and no silicone belongs under a broiler.
The pinch test for cheap silicone
Good bakeware silicone is made with a platinum cure and no bulking fillers. Cheaper pans are padded out with fillers that make the pan floppier, smellier when hot, and more likely to stain.
Pinch a flat area and twist it hard. If a white streak appears where you twisted, that is filler showing. Pure silicone keeps its color. It is not a lab test, but it sorts the pans worth using from the ones that will smell like a new shower curtain at 350°F.
Also give a new pan a bake-out. Run it empty at 350°F for about 20 minutes with the vent fan on, then wash it. That drives off the manufacturing smell that otherwise lands in your first batch.
Worked example: one cake batter, two pans
Say you have a butter cake recipe for a single 8 inch round, baked at 350°F for 30 to 34 minutes.
An 8 inch round, 2 inches deep, holds about 6 cups of batter, and the recipe fills it about two thirds full, so roughly 4 cups of batter.
In an aluminum pan: greased and lined, 350°F, middle rack. The sides set at around 12 minutes, the center domes by 20, and a tester comes out clean at 31 minutes. Center reads 208°F. The sides are golden, the bottom is a clean tan, and the cake releases in one piece after 10 minutes of resting.
In a silicone pan of the same size: same oven, same rack, sitting on a half sheet pan. At 31 minutes the tester still has wet crumbs and the center reads 196°F. At 37 minutes it reads 207°F and the tester is clean. The top is browned. The sides are the color of raw batter, and the bottom is barely tinted.
Same recipe, 6 extra minutes, and a very different-looking cake. Both taste fine. Only one of them stacks neatly into a layer cake, and it is the metal one.
If your two pans are not the same size, convert the batter volume first with our cake pan converter, then adjust the time.
Sizing and volume: silicone is not always what it says
Metal pan sizes are fairly honest. A 9 inch round is 9 inches across the top, about 2 inches deep, and holds around 8 cups.
Silicone sizes drift. The pan measures one thing empty and another thing full, because the walls flex outward under weight. A silicone 9 inch round can end up closer to a 9.5 inch cake by the time it is baked, which spreads the batter thinner and shortens the bake time even though the material slows heat down. The two effects fight each other, which is why silicone timing feels unpredictable.
The fix is to measure by volume, not by the label. Fill the pan with water, cup by cup, up to the fill line. That number is what you match to your recipe. Common volumes for reference:
| Pan | Approximate volume |
|---|---|
| 6 inch round, 2 in deep | 4 cups |
| 8 inch round, 2 in deep | 6 cups |
| 9 inch round, 2 in deep | 8 cups |
| 8 x 8 square | 8 cups |
| 9 x 13 rectangle | 14.5 cups |
| 8.5 x 4.5 loaf | 6 cups |
| 9 x 5 loaf | 8 cups |
| Standard 12 well cupcake pan | 5 cups |
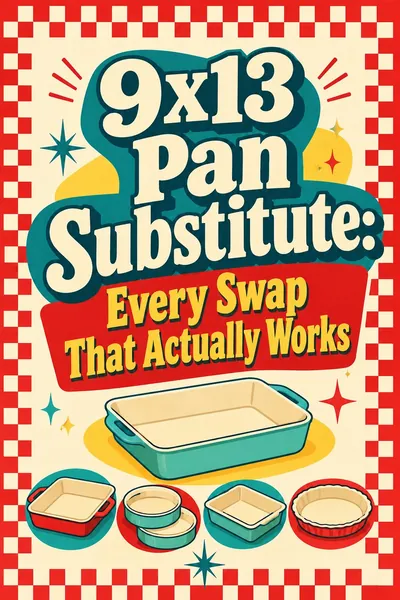
Use those figures with our guide to substituting cake pan sizes if you are swapping shapes as well as materials.
Care, life span and when to throw a pan out
Metal bakeware, treated well, outlives you. Skip the dishwasher, especially for aluminum, which the detergent dulls and pits. Do not cut in a nonstick pan. Store pans nested with a paper towel between them so the coatings do not scratch.
Silicone has a shorter, clearer life. Retire a pan when:
- The surface feels tacky or greasy after washing. That is polymerized fat that will not come off, and it makes release worse, not better.
- It has a permanent smell from a strong bake.
- There is a tear, a nick, or a spot where the fiberglass mesh core shows through.
- It has gone stiff or chalky.
To fight the sticky feeling, wash silicone in genuinely hot water with plenty of soap, or run it through the dishwasher on the top rack. Cold water and a quick rinse leave a fat film every time.
What about glass and ceramic?
Glass sits between the two. It conducts worse than metal and better than silicone, and it holds onto heat once it is hot, so a glass pan keeps baking after it comes out of the oven. Many bakers drop the oven 25°F for glass and pull the pan a few minutes early.
Glass shines for custards, cobblers, casseroles and anything you want to serve from the dish. It is a poor choice for cookies, and it should never go from freezer to hot oven or from hot oven to a wet counter.
Ceramic behaves much like glass: slow to heat, good at holding it, pretty on a table.
The honest verdict
If you own one set of bakeware, make it metal. Recipes are written for it, it browns, it holds shape, and it lasts.
Then add silicone for the specific jobs it does better: molded shapes, mini bakes, freezer work and anything sticky. A couple of silicone pieces alongside a metal core kit covers nearly everything a home baker does.
What you save with the right pan is real: no cake torn in half getting it out of a fancy mold, no soggy pie bottom, no pale cookies, and no batch pulled ten minutes early because the bottom looked raw.
Frequently asked questions
Are silicone baking pans good for cakes?
They are usable, not ideal. A silicone cake bakes through fine, but it comes out pale at the sides and bottom, and the flexible walls give it a slightly rounded shape. For a single-layer cake you are frosting anyway, that is a non-issue. For stacked layers, metal is much easier to work with.
Do you need to grease silicone bakeware?
Not usually, but do it for the first few bakes and always for detailed molds. A very light film of butter or spray costs you nothing and prevents the one torn cake that makes people give up on the pan. Skip heavy greasing, since excess fat bakes into the surface and turns it tacky over time.
Do silicone pans take longer to bake?
Yes, most of the time. Silicone insulates, so heat reaches the batter more slowly. Expect roughly 5 to 10 extra minutes on a standard cake, less on small items like mini muffins. Do not raise the oven temperature to make up for it, because that sets the top before the center is done.
Why are my silicone muffins pale and soggy on the bottom?
Because the pan never got the bottoms hot enough to brown or dry them. Set the silicone pan on a preheated metal sheet next time, which adds conduction from below, and leave the muffins in the pan for only 3 to 4 minutes before turning them out so trapped steam does not soften them further.
What temperature can silicone bakeware handle?
Most kitchen silicone is rated for something in the 420 to 500°F range, and the exact number is printed on the box or the pan. Standard baking never gets near the limit. What silicone cannot take is direct flame, a broiler element, or contact with a burner.
Is dark metal or light metal better for baking?
Light aluminum and aluminized steel give the most even, controllable results and are what most recipes assume. Dark nonstick absorbs more radiant heat and browns crusts faster, so drop the oven by 25°F and start checking early. For cookies and cakes, lighter metal is the safer default.
Can silicone bakeware go from the freezer to the oven?
Yes, and that is one of its real advantages. Silicone tolerates the swing without cracking, which is why it is the standard choice for frozen inserts and make-ahead components. Metal handles it too, but glass does not, so never move a glass dish straight from freezer to hot oven.
Does silicone bakeware wear out?
It does. Replace a pan once it feels permanently tacky, smells of old bakes, has gone stiff, or shows any tear or exposed mesh. Cheap filler-heavy pans wear out much faster than platinum-cured ones, which is what the pinch-and-twist test earlier on this page is for.
Related guides
- How to line a cake pan
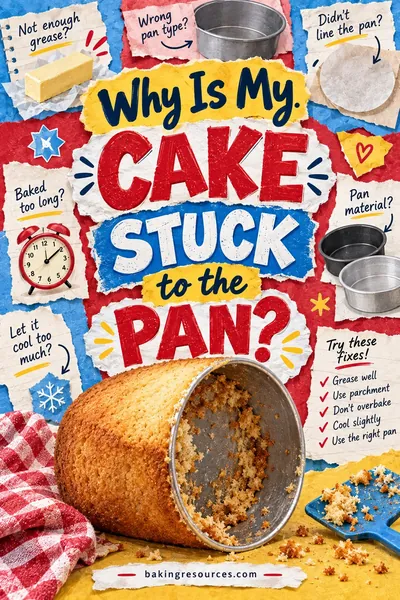
- Why is my cake stuck to the pan?
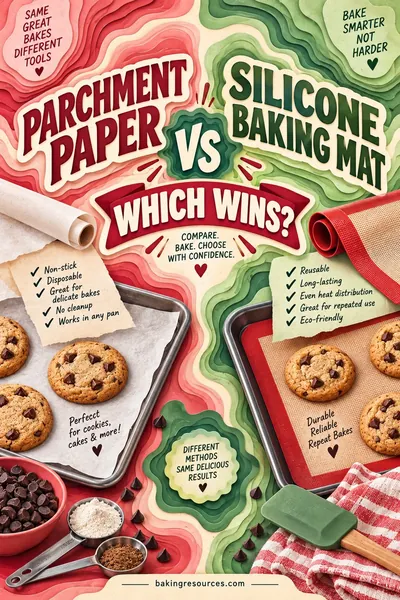
- Parchment paper vs silicone baking mat
- Convection vs conventional oven
- How to bake evenly in your oven