
Classic Apple Pie Recipe

This apple pie works because of three simple things: an all-butter crust kept cold until it hits the oven, a filling thickened with a little flour so it slices clean, and a two-step bake. It starts at 425°F for 20 minutes to set the crust fast, then drops to 375°F until the juices bubble thick and slow through the vents.
Plan on about 6 1/2 hours start to finish, but only around an hour of that is hands-on. The rest is chilling, baking and a long cool so the filling sets. The recipe card below scales the pie for any pan or number of pies and switches every amount to grams.
Recipe card
Apple Pie recipe
Pick your pie pan and how many you need. Every amount, the bake time and your start time update for you.
More free baking tools



Why This Apple Pie Recipe Works
Most apple pie problems come down to two things: water and heat. Apples are mostly water, and as they bake they let go of a lot of it. If that juice has nowhere to go and nothing to thicken it, you get a soupy filling and a pale, damp bottom crust. This recipe handles both.
- The apples sit with the sugar first. A 15-minute rest pulls juice out of the slices before they go in the pan, and the flour in the mix is already there to thicken it.
- Hot start, steady finish. 425°F for the first 20 minutes sets the crust and starts browning the bottom before the filling has time to soak it. Then 375°F lets the apples soften all the way through without burning the top. If your oven reads in Celsius or gas marks, the oven temperature converter gives you both numbers.
- The pie bakes low, on a hot sheet pan. Heat hits the bottom crust first, which is exactly where you want it.
- It cools for real. The thickened juices only set once the pie cools down. Three hours feels long, but it is the difference between neat slices and a puddle.
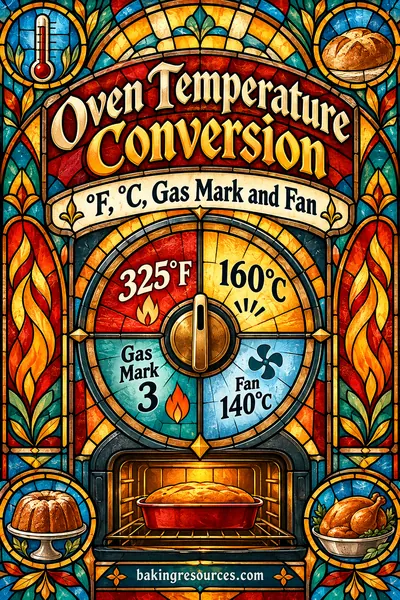 Free toolOven Temperature Conversion: °F, °C, Gas Mark and FanConvert it now →
The base recipe fits a standard 9 inch pie pan and cuts into 8 slices. If you want two pies for a crowd or a half batch, the recipe converter does the math, and the card above already handles 8 inch, 10 inch and deep-dish pans. Not sure which one you own? Check the depth and width against this pie pan size guide before you start.
 Free toolRecipe Converter: Halve, Double or Scale Any RecipeRun my numbers →
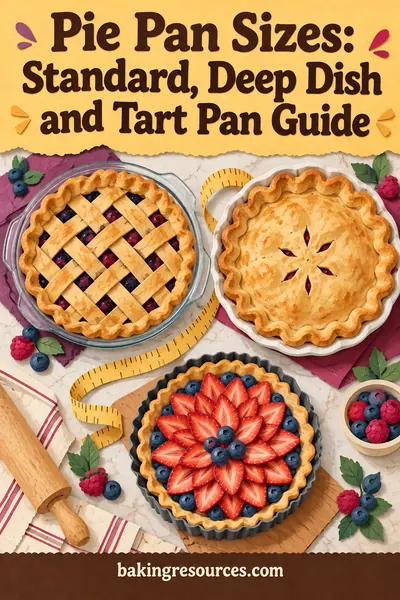 Baking guidePie Pan Sizes: Standard, Deep Dish and Tart Pan GuideSee the sizes →
The Best Apples for Apple Pie
You want apples that hold their shape and still taste like something after an hour in the oven. Soft apples turn to applesauce, and very sweet apples can taste flat once they are baked. The easy answer is to mix two kinds: one firm and tart, one firm and sweet. You get bright flavor plus slices that stay in neat layers.
| Apple | Flavor | Texture after baking | How to use it |
|---|---|---|---|
| Granny Smith | Tart | Firm, holds its shape | Great base apple; pair with a sweet one |
| Honeycrisp | Sweet-tart | Firm, stays juicy | Good on its own or in a mix |
| Braeburn | Sweet-tart, a little spicy | Firm | Very reliable for pie |
| Golden Delicious | Sweet, mild | Softens a bit but holds | Mix with a tart apple |
| Jonagold | Sweet with some tang | Medium-firm | Nice partner for Granny Smith |
| Pink Lady | Tart-sweet | Firm | Holds slices well |
| Gala or Fuji | Sweet | Softer, can go mushy | Use only as part of a mix |
| McIntosh | Tart, tender | Breaks down into sauce | Skip, or use a few to fill gaps |
The recipe calls for about 3 pounds of apples, roughly 7 medium ones, which gives you about 8 cups once they are peeled and sliced. Weighing them is the easiest way to get it right, since "medium" can mean very different sizes at the store.
Ingredients and What Each One Does
For the crust
- All-purpose flour gives the crust its structure. Too much makes it dry and hard to roll, so spoon and level it or weigh it. Here is how to measure flour so your cups match the recipe, and the grams to cups converter helps if you switch between the two.
- Cold unsalted butter makes the flakes. Little pieces of butter melt in the oven, release steam, and push the dough into layers. If you only have salted butter, you can use it and cut back the salt; this salted vs unsalted butter guide shows how much.
- Sugar and salt are small amounts that help the crust brown and taste seasoned, not bland.
- Ice water brings the dough together. Cold matters, because warm water softens the butter before it ever reaches the oven.
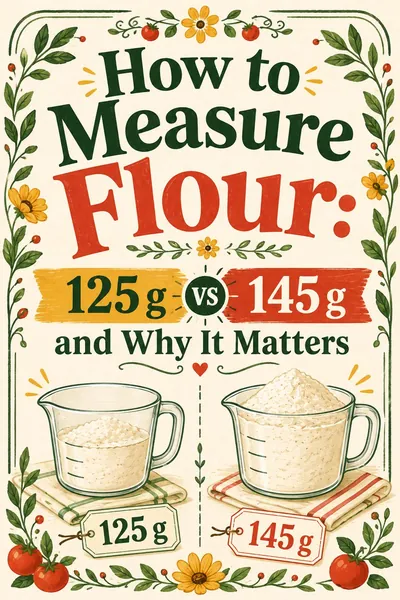 Baking guideHow to Measure Flour: 125 g vs 145 g and Why It MattersSee how it's done →
 Free toolGrams to Cups Converter (Ingredient-Aware)Try the calculator →
For the filling
- Apples are the star, so pick firm ones (see the chart above).
- Lemon juice brightens the flavor and slows browning while you work.
- Granulated and light brown sugar sweeten and pull juice from the apples. Brown sugar adds a soft caramel note.
- Flour thickens the juices into a glossy sauce. Cornstarch works too and gives a clearer filling; this guide to using cornstarch instead of flour explains the swap.
- Cinnamon, nutmeg and salt give that classic warm flavor. The pinch of salt keeps the sweetness from tasting flat.
- Butter dots add richness to the filling as it melts.
 Baking guideUsing Cornstarch Instead of Flour as a ThickenerShow me the ratios →
For the top
An egg beaten with a tablespoon of milk gives you a shiny, deep golden top, and coarse sugar adds a little crunch. Curious why it works? Read what an egg wash does and how to brush it on thin.
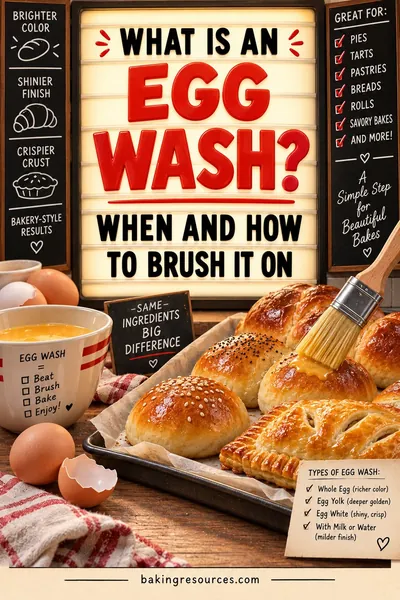 Baking guideWhat Is an Egg Wash? When and How to Brush It OnLearn more →
Step-by-Step Tips for the Best Apple Pie
Making the dough
Work the butter into the flour until the biggest pieces look like peas. You should still see streaks and bits of butter, and that is a good thing. If you are new to this, this guide on how to cut butter into flour walks through it by hand, with a pastry blender, or with a food processor. Add the ice water a spoonful at a time. The dough is ready when a handful squeezed in your fist holds together without crumbling. It should feel cool and a little shaggy, not sticky or smooth like play dough.
 Baking guideHow to Cut Butter Into Flour for Flaky Pastry Every TimeRead the step by step →
Chilling
The hour in the fridge does two jobs. It firms up the butter again, and it lets the flour soak up the water evenly, so the dough rolls without cracking or shrinking back. If the dough is rock hard when you take it out, let it sit for 5 to 10 minutes until it bends a little without snapping.
Mixing the filling
Slice the apples evenly, about 1/4 inch thick. Even slices cook at the same speed, so you will not get a mix of crunchy and mushy bites. After the 15-minute rest, you will see a pool of syrupy juice in the bowl. Pour all of it into the pie. The flour is already in there, ready to thicken it.
Rolling and filling
Roll the bigger disk about 2 inches wider than your pan and ease it in without stretching it, since stretched dough shrinks in the oven. Pile the apples high and pack them down gently with your hands. They will shrink as they bake, and pressing out air pockets now helps prevent a gap later. Cut 4 vents in the top crust so steam can escape. If the dough fights you, gets tough, or tears, check out why pie crust gets tough; it usually comes from too much water or too much handling.
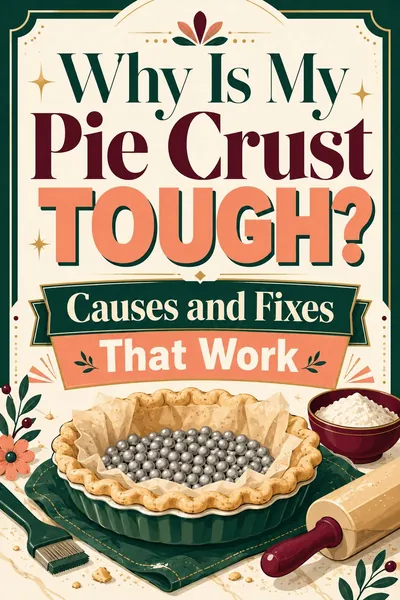 Baking guideWhy Is My Pie Crust Tough? Causes and Fixes That WorkSee what went wrong →
How to avoid a soggy bottom
- Bake on a rack in the lower third of the oven, as the recipe says. This guide on which oven rack to use explains why the bottom heat matters so much here.
- Put a sheet pan on that rack while the oven heats. The hot pan gives the bottom crust a quick blast of heat, and it catches drips too.
- Use a glass or metal pie pan. Glass lets you peek at the bottom to check for browning.
- Do not skip the 20-minute chill before baking. Cold dough holds its shape and sets fast in the hot oven.
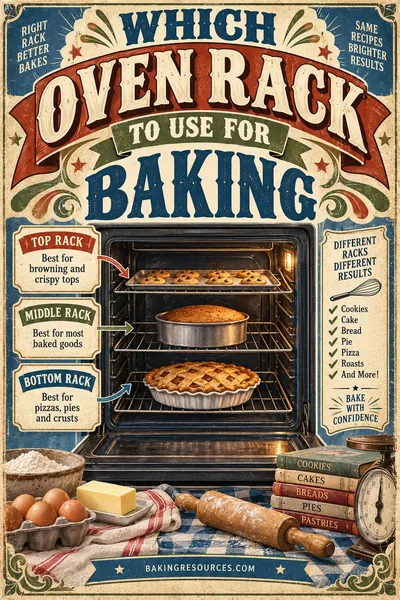 Baking guideWhich Oven Rack to Use for Baking: Top, Middle, LowSee the chart →
How to avoid a gap under the top crust
That big empty space between the crust and the apples happens when the top crust sets before the apples shrink. Three things help: slice the apples evenly (not too thick), let them sit with the sugar so they soften and give up some juice first, and press the filling down firmly before you add the top. Mounding the apples higher in the center also gives the crust something to settle onto as everything cooks down.
How to Tell When Apple Pie Is Done
The time on the card is a guide, but the pie tells you when it is ready. Look for these signs:
- The top crust is a deep golden brown, not just light tan.
- The juices bubble up through the vents slowly and look thick, like syrup. Fast, thin bubbles mean the thickener has not kicked in yet, so keep baking.
- A thin knife slides through the apples in a vent with no crunch.
- The center of the filling reads 200°F on an instant-read thermometer.
If the edges get dark before the center is done, cover them with a strip of foil or a pie shield for the rest of the bake.
Make-Ahead Timeline for Thanksgiving
Apple pie is a great Thanksgiving dessert because so much of it can be done early, and that keeps your oven free for the big day.
| When | What to do |
|---|---|
| Up to 3 months before | Make the dough, shape the disks, wrap well and freeze |
| Up to 2 days before | Make the dough and keep it in the fridge, or move frozen disks to the fridge to thaw |
| Tuesday or Wednesday | Make the filling, assemble and bake the pie |
| Wednesday night | Let it cool fully, then cover loosely and leave on the counter |
| Thanksgiving Day | Serve at room temperature, or warm slices for about 10 minutes at 350°F |
You can also freeze the whole unbaked pie and bake it straight from frozen. Add about 20 minutes to the 375°F part of the bake and look for the same thick bubbling. For tips on wrapping and thawing dough, see how to freeze pie dough.
How to Store and Freeze Apple Pie
- Room temperature: A baked apple pie keeps well loosely covered on the counter for up to 2 days. The sugar and acid in the filling help it keep.
- Fridge: After that, cover it and move it to the fridge for up to 4 more days. The crust softens a little in the cold, so warm slices in the oven to crisp them up again.
- Freezer: Wrap a fully cooled baked pie tightly in plastic wrap and foil. It keeps for about 3 months. Thaw on the counter, then warm at 350°F until heated through.
For more on what goes where, this guide on how to store baked goods covers the counter, fridge and freezer for all kinds of treats.
Apple Pie Troubleshooting
| Problem | Likely cause | Fix next time |
|---|---|---|
| Runny filling | Cut while warm, or pulled before the juices bubbled thick | Bake until slow, thick bubbles show; cool at least 3 hours |
| Soggy bottom crust | Rack too high or no hot sheet pan | Bake in the lower third on a preheated sheet pan |
| Big gap under the top crust | Apples shrank after the crust set | Let apples rest in the sugar, press them down, slice evenly |
| Crust shrank or slid down | Dough was stretched or warm | Ease dough into the pan; chill before baking |
| Tough, hard crust | Too much water or too much mixing | Add water slowly and stop when it just holds |
| Edges too dark | Thin edges bake faster than the center | Shield the edges with foil partway through |
| Mushy apples | Soft apple variety or very thin slices | Use firm apples cut about 1/4 inch thick |
| Crunchy apples | Slices too thick or underbaked | Slice evenly; check with a knife through a vent |
Baking up in the mountains? Juices boil sooner and run thinner above 3,000 feet. Add 1 extra tablespoon of flour to the filling and plan on 5 to 10 minutes more at 375°F. The high altitude baking chart has more on why this happens.
Easy Apple Pie Variations
- Lattice top: Cut the top crust into strips and weave them over the filling. More steam escapes, so the filling gets a bit thicker and you can see the apples bubbling.
- Dutch apple pie: Skip the top crust and cover the apples with a crumb topping made from flour, brown sugar, oats and butter.
- Caramel apple pie: Drizzle a few spoonfuls of thick caramel sauce over the apples before you add the top crust.
- Cranberry apple pie: Swap 1 cup of the apples for fresh cranberries for a tart, pretty holiday pie. Add a spoonful more sugar.
- Extra spice: Add a pinch of ginger, allspice or cardamom with the cinnamon.
Questions people ask
What temperature do you bake apple pie at?
Bake it at 425°F for the first 20 minutes, then turn the oven down to 375°F for another 35 to 45 minutes in a standard 9 inch pan. The hot start sets and browns the crust quickly, and the lower heat gives the apples time to soften all the way through without burning the top.
Why is my apple pie runny?
Usually the pie was cut too soon or came out of the oven before the juices thickened. The flour in the filling only works once the juices bubble slowly and look thick at the vents. After that, the pie needs at least 3 hours to cool so the filling can set into clean slices.
Should I peel the apples for apple pie?
Yes, for this recipe. Apple peels stay chewy after baking and can curl up into tough strips in the filling. Peeled slices soften evenly and soak up the sugar and spices better. Slice them about 1/4 inch thick so every piece cooks at the same speed.
How long does apple pie need to cool before slicing?
Give it at least 3 hours. The juices are still thin when the pie comes out of the oven and only thicken as it cools. A warm slice will run all over the plate, while a cooled slice holds its shape. You can always warm individual slices for a few minutes before serving.
Can I make apple pie the day before?
Yes. Apple pie is one of the best desserts to make ahead. Bake it a day early, let it cool completely, then cover it loosely and leave it on the counter. The filling sets even more overnight, so slices come out neat. Warm them briefly at 350°F if you like it warm.
Can I bake apple pie in a deep-dish pan?
Yes. Use the deep-dish option in the recipe card above, which scales the ingredients up to fill the larger pan. The bake starts the same, 20 minutes at 425°F, then needs 45 to 55 minutes at 375°F. Go by the thick bubbling at the vents and a deep golden crust.