How to Tell if Sourdough Starter Is Ready: Float and Peak

Here is how to tell if sourdough starter is ready: after a feeding, it should at least double in height, show a domed or just-flattening top full of bubbles, smell pleasantly tangy, and feel light and airy when you stir it. Use it at or just before its peak, and treat the float test as a helpful extra check rather than the final word.
A ready starter is the difference between a loaf that rises tall and one that sits flat on the counter. The good news is that you do not need special equipment to judge it. A clear jar, a rubber band and a few minutes of watching will tell you almost everything.
This guide is for a regular 100% hydration starter, meaning equal weights of flour and water at each feeding. It walks through each readiness sign, the float test, a simple timeline, a checklist to run before mixing dough, and fixes for a starter that is slow, sluggish or peaking too fast.
How to Tell if Sourdough Starter Is Ready: Quick Checklist
Run through this list before you mix dough. If your starter passes most of these, it is ready.
| Sign | What ready looks like | What not ready looks like |
|---|---|---|
| Rise | At least doubled since feeding | Less than 50% rise |
| Top surface | Domed, or just starting to flatten | Flat and dense, or fully collapsed with streaks |
| Bubbles | Many bubbles of mixed sizes, visible through the jar sides | Few bubbles, mostly at the top |
| Texture | Light, airy, stretchy, webby when stirred | Thick and pasty, or thin and soupy |
| Smell | Pleasantly sour, yogurt-like, a little fruity | Flat flour smell, or sharp and harsh |
| Float test | A spoonful floats in water | A spoonful sinks right away |
| Consistency over days | Rises on a predictable schedule | Rises one day, stalls the next |
Why Readiness Matters
The wild yeast and bacteria in a starter go through a cycle after every feeding. At first they are quiet while they wake up. Then they multiply and produce gas, which makes the starter rise. At the top of that rise, called the peak, there is the most active yeast and the most gas. After the peak, food runs low, the structure weakens, and the starter falls back down and gets more sour.
If you mix dough with a starter well before its peak, the yeast population is still small and your dough will rise slowly. If you use it long after the peak, the yeast is hungry and tired, and the extra acid can weaken the dough. Catching it near the peak gives you the strongest, most predictable rise.
Sign 1: It Has At Least Doubled
Rise is the most reliable sign of how to tell if sourdough starter is ready.
How to track the rise
- Feed your starter in a straight-sided clear jar.
- Right after feeding, stir it down, scrape the sides, and level the top.
- Put a rubber band or a piece of tape around the jar at the starter's surface.
- Check back every hour or so.
A healthy, mature starter at 100% hydration will usually double, and many will rise to two and a half or three times their starting height. Doubling is the minimum to aim for.
Rise percentages at a glance
| Height compared with feeding mark | What it means |
|---|---|
| Under 1.5x | Still building, or starter is weak |
| 1.5x to 2x | Getting close; check again soon |
| 2x or more | Ready range |
| Rose to 2x+ and has fallen back | Past peak; usable, but best to refeed |
Sign 2: The Top Is Domed or Just Flattening
Look at the surface of the starter against the glass.
- Rising: the top is rounded and domed, pushing up in the center.
- At peak: the dome starts to flatten. You may see the very center sink slightly while the edges hold.
- Past peak: the top has fallen. You will see streaks or a film on the glass above the current level, showing where it used to be.
The sweet spot is a domed top that has just begun to level off. That tells you the starter is at full strength.
Sign 3: Bubbles All the Way Through
Look at the sides of the jar, not just the top. A ready starter has bubbles throughout, from the bottom to the surface, in a mix of sizes. You should see small pinprick bubbles alongside larger ones.
When you stir it with a spoon, it should feel light and pull into stretchy, web-like strands. A starter that is thick and heavy, or one that pours like batter with few bubbles, is not ready yet.
Sign 4: It Smells Right
Smell is a useful supporting sign.
- Ready: pleasantly sour, like plain yogurt, with a mild fruity or beer-like note.
- Under-ready: smells mostly of raw flour and water.
- Past peak or hungry: sharper and more vinegar-like, sometimes with a nail-polish-remover note. That smell means the starter needs feeding, not that it has gone bad.
Every starter smells a little different depending on the flour you feed it, so learn what yours smells like on its best days.
Sign 5: The Float Test
The float test is the most famous way to check a starter, and it is quick.
How to do the float test
- Fill a glass or small bowl with room-temperature water.
- Without stirring the starter first, scoop a small spoonful from the top.
- Gently drop it onto the surface of the water.
- Watch what it does.
If it floats, the starter is full of trapped gas and is very likely ready.
If it sinks, it may not be ready yet, or it may be past peak.
Why the float test is not the final word
The float test works best for a starter at around 100% hydration. Even then, it can give a false "not ready."
- Wetter starters hold gas less well and may sink even when active.
- Whole grain starters (rye or whole wheat) are heavier and often sink even at peak.
- Stirring the starter first knocks out the gas, so a ready starter can sink.
So if your starter has doubled, has bubbles all through, and smells right but sinks, trust the other signs. If it floats and passes the other checks, you are good to go.
A Typical Timeline After Feeding
Every starter has its own rhythm, which depends on the flour, the feeding ratio and, most of all, the temperature of your kitchen. This table shows a rough pattern for a 1:1:1 feeding (equal weights of starter, flour and water) at a comfortable room temperature. Use it to know when to start watching, not as a strict schedule.
| Time after feeding | What you might see |
|---|---|
| 0 to 2 hours | Little change; a few bubbles start to form |
| 2 to 4 hours | Noticeable rise, bubbles on the sides |
| 4 to 8 hours | Doubles or more, domed top; this is often the ready window |
| 8 to 12 hours | Top flattens and begins to fall; smell gets more sour |
| 12+ hours | Fallen, with streaks on the glass; time to feed again |
Warmer kitchens move faster and cooler kitchens move slower. Larger feeding ratios, such as 1:2:2 or 1:5:5, also stretch the timeline out, which can be handy if you want the starter to peak while you sleep.
How Temperature Changes Readiness
Temperature is the biggest single factor in how fast a starter reaches peak.
| Kitchen feel | What to expect |
|---|---|
| Cool (around the mid-60s °F) | Slow rise; peak may take most of a day |
| Comfortable (around the low to mid-70s °F) | Steady rise; peak in roughly 4 to 8 hours |
| Warm (around 80 °F) | Fast rise; can peak and fall in a few hours |
If your kitchen is cool, find a warmer spot, such as near (not on) a warm appliance or inside the oven with only the light on. If it is warm, use a larger feeding ratio or cooler water to slow things down. The sourdough rise time guide covers how the same temperature effects carry into your dough's bulk fermentation once the starter goes in.
The Day-Before Routine
Most bakers get the best results by planning the feeding around when they want to mix dough.
- Decide when you want to mix. Say, 9 a.m.
- Work backward to the peak time. If your starter typically peaks about 6 hours after a 1:1:1 feeding, feed it around 3 a.m., or use a bigger ratio the night before so it peaks in the morning.
- Mark the jar after feeding.
- Check in the morning. Look for doubling, a domed top and bubbles throughout.
- Mix your dough at or just before peak.
If you keep your starter in the fridge between bakes, take it out and give it one or two room-temperature feedings first. A cold starter straight from the fridge is rarely ready on its first feed.
Peak vs. Slightly Before or After
You do not have to catch the exact minute of peak.
- Just before peak (still rising): great for most breads. The starter keeps working in the dough.
- At peak: the ideal point for the strongest, most active rise.
- Shortly after peak (just starting to fall): still usable. Expect a slightly tangier loaf and possibly a slower rise.
- Long after peak (fully collapsed, very sour): feed it again and wait for the next rise.
Troubleshooting: When the Starter Is Not Ready
It does not double
- Kitchen too cool. Move it somewhere warmer.
- Starter is young. New starters often take a couple of weeks of steady feedings before they rise reliably.
- Too much water. A very runny starter cannot hold gas well. Make sure you are using equal weights, not equal cups. A scale helps here.
- Flour change. Switching to a new flour can slow it down for a few feedings. Adding a spoonful of whole wheat or rye flour often perks it up.
It rises, then falls very fast
- Too warm. Use cooler water or a cooler spot.
- Feeding ratio too small. Try 1:2:2 so there is more food to work through.
It has a layer of liquid on top
That gray or brown liquid (often called hooch) means the starter is hungry. Pour it off or stir it in, then feed. It is not a sign the starter is ruined.
It smells very sharp
It is past peak and hungry. Feed it, perhaps twice in a row, and the smell will mellow.
It sinks in the float test but looks active
Trust the rise and bubbles. Whole grain and wetter starters often sink even when they are ready.
It shows pink, orange or fuzzy spots
Discard it and start again. Those can be signs of unwanted mold or bacteria. A healthy starter is creamy, tan or light gray.
Common Mistakes to Avoid
Judging by time alone. "Six hours after feeding" is a guide, not a rule. Watch the jar.
Stirring before the float test. It knocks out the gas you are trying to measure.
Using a cold starter straight from the fridge. Give it at least one warm feeding first.
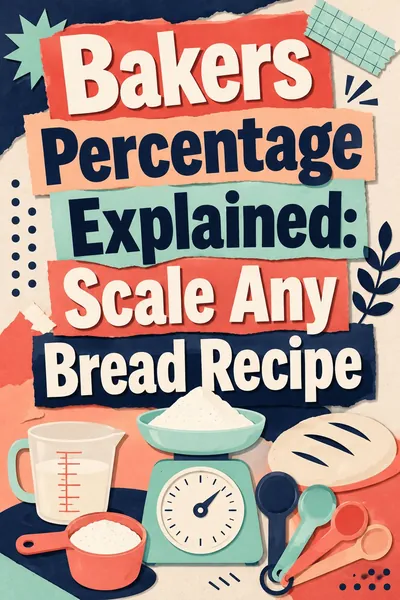
Measuring by cups. Flour cups vary a lot. Weighing flour and water keeps your hydration steady, which keeps your timing steady. The bakers percentage guide explains how starter weight and hydration fit into the rest of your recipe.
Waiting too long after peak. A collapsed starter still has yeast, but the loaf will usually rise slower and taste more sour.
Changing everything at once. If the starter is slow, change one thing (temperature, flour or ratio) and watch for a couple of days.
Stiff Starters and Recipe Conversions
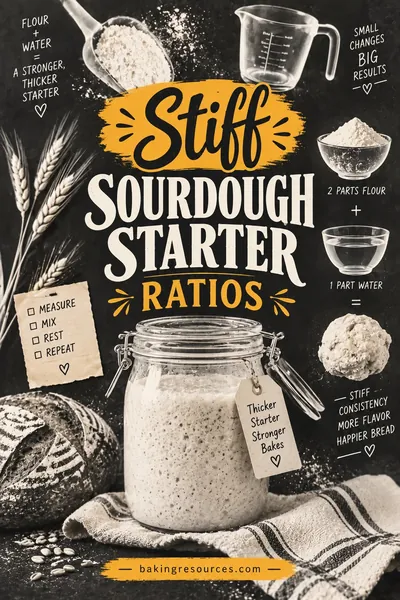
Everything above is about a 100% hydration starter. A stiff starter, made with less water, behaves differently: it rises more slowly, it does not bubble through the jar the same way, and it is too dense for the float test. If that is what you keep, the stiff starter ratio guide covers feeding ratios and how to read a stiff starter's peak.
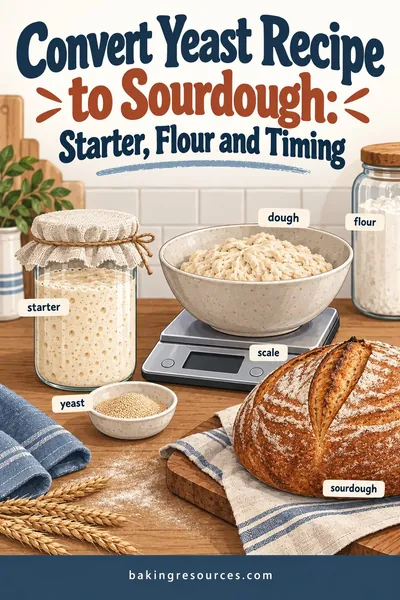
Once your starter passes the checklist, you can use it in nearly any bread, including recipes written for commercial yeast. The convert yeast recipe to sourdough guide walks through how much starter to use and how to adjust the flour and water.
FAQ
What is the best way for how to tell if sourdough starter is ready?
The most reliable sign is rise. Mark the jar after feeding and look for the starter to at least double, with a domed or just-flattening top and bubbles all the way through. Use smell and the float test as supporting checks.
Does a sourdough starter have to pass the float test?
No. The float test is helpful for many 100% hydration starters, but wetter or whole grain starters often sink even when active. If your starter has doubled and looks bubbly and airy, it is ready even if it sinks.
How long after feeding is sourdough starter ready?
It depends mostly on temperature and feeding ratio. At comfortable room temperature with a 1:1:1 feeding, many starters peak in roughly 4 to 8 hours. Warm kitchens are faster, cool ones slower.
Can I use sourdough starter after it peaks?
Yes, shortly after peak is fine, though bread may rise more slowly and taste tangier. If it has fully collapsed and smells sharp, feed it and wait for the next rise.
Why is my starter bubbly but not rising?
It may be too runny to hold gas, too cool, or still young. Check that you are weighing equal amounts of flour and water, move it somewhere warmer, and keep up regular feedings.
Can I bake with starter straight from the fridge?
It is better not to. Give it one or two feedings at room temperature first, and use it once it doubles and peaks on schedule.
How do I know my new starter is mature enough to bake with?
When it doubles reliably within a similar time window after each feeding, several days in a row, it is ready for bread.